Even the most careful RV owners know the truth: a scuff and paint scratch is bound to happen sooner or later. Whether you’re pulling into a tight campground, brushing against a tree branch, or navigating a crowded parking lot, your RV’s paint can take a hit. The good news? Many scuffs and scratches can be removed at home without a trip to the body shop—or a costly repair bill.
At Happy Camper, we’re here not only to keep you covered with RV insurance, but also to help you maintain your rig so you can spend more time enjoying the road and less time worrying about repairs.
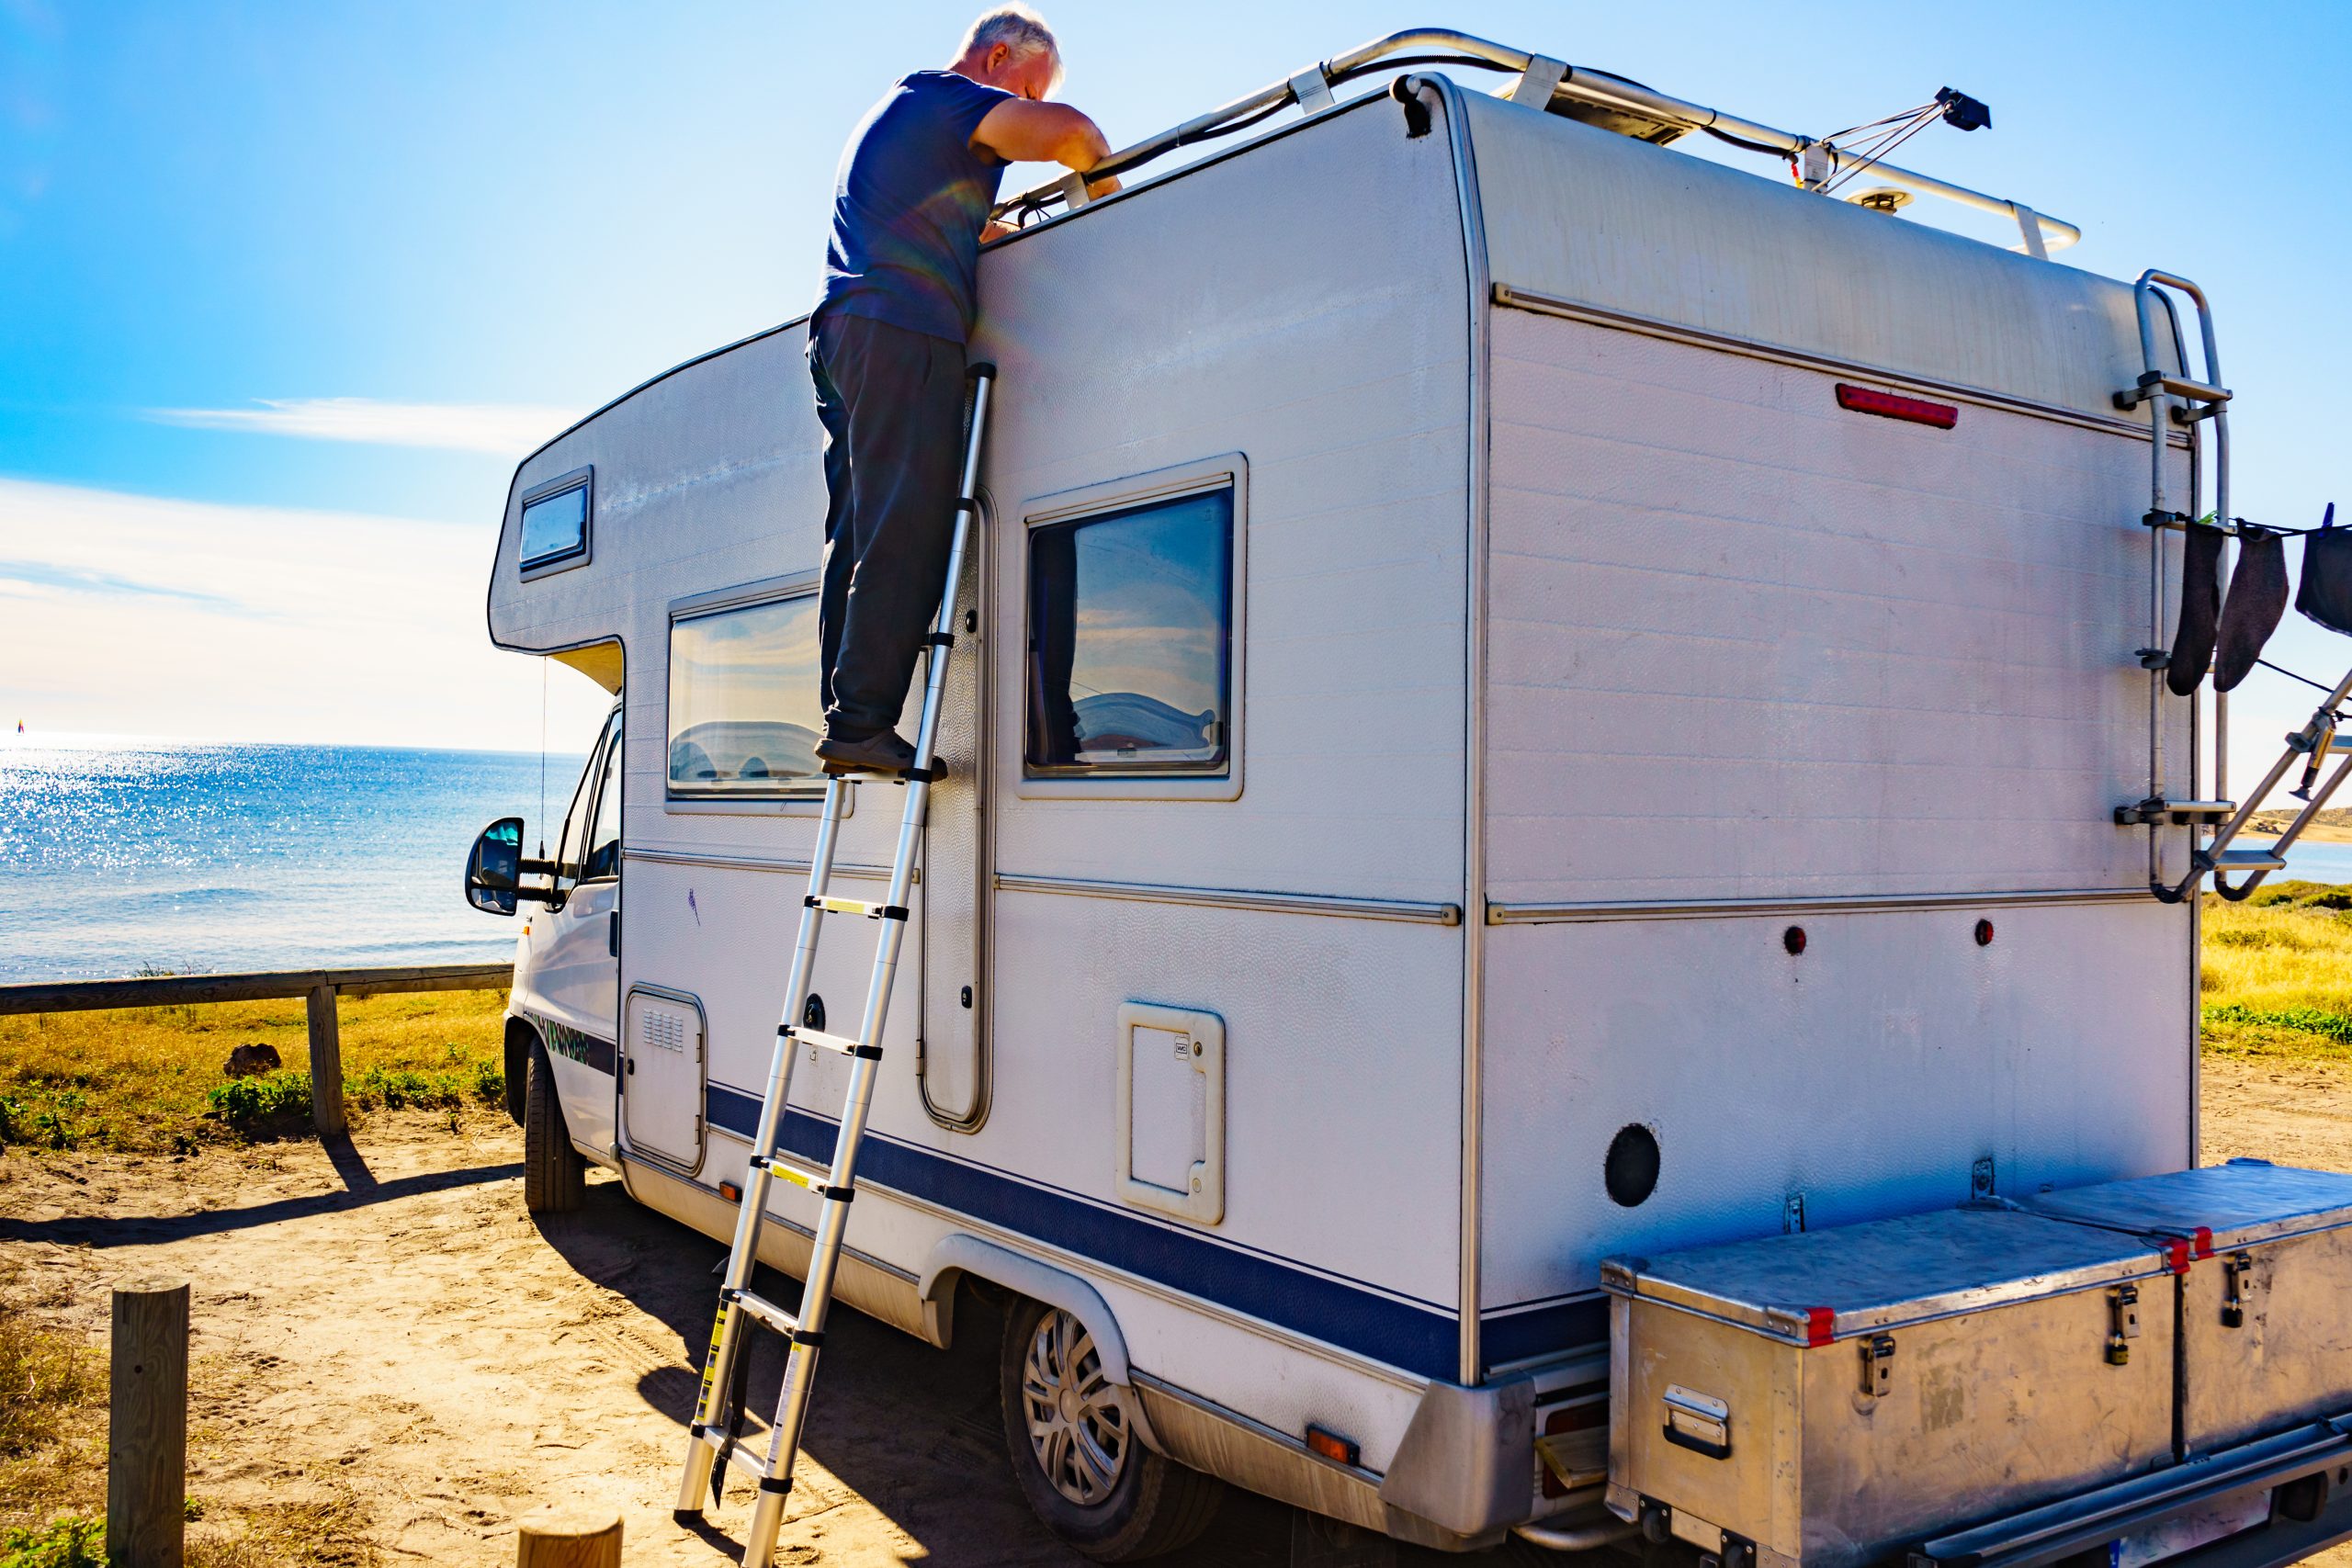
How to Get Paint Scuffs Off Your RV
RVs, like cars, are painted in multiple layers: primer, base coat, and a clear coat on top for shine and protection. When scuffs are superficial and don’t go beyond the clear coat, you may be able to remove them with simple tools and some elbow grease. Deeper scratches that reach the base coat or primer will likely need touch-up paint—or professional help.
Tools You’ll Need
Most supplies can be found at any auto parts store:
- Microfiber cloths
- Scratch remover or rubbing compound
- Polish
- RV-safe wax
- Sandpaper (for deeper scratches)
- Touch-up paint (matched to your RV’s color code)
Step-by-Step: Removing Paint Scuffs
- Clean the area. Wash away dust, dirt, and road grime. A clean surface makes the process easier and prevents further scratches.
- Apply scratch remover. Using a microfiber towel, work the compound into the scuff in a circular motion until it fades.
- Polish the surface. Once the scuff is gone, polish the area to restore the shine.
- Protect with wax. Finish with a coat of wax to seal the repair and help protect from future damage.
If the scuff revealed deeper damage, you may need to sand the area lightly and apply touch-up paint before polishing and waxing.
DIY Alternatives
If you’re in a pinch, some household items can act as stand-ins for auto products:
- Toothpaste: Works like a gentle rubbing compound.
- Magic eraser: With lubricant, it can buff out surface marks (use carefully to avoid removing too much).
- Nail polish remover: The acetone can thin out paint transfer, but use sparingly—it can also remove your RV’s paint if overdone.
These are quick fixes, but for long-term care, professional-grade products are best.
When to See a Professional
If the damage goes beyond the clear coat or you can see primer, a body shop may be your best bet. Likewise, if you’re not comfortable handling scratch repair yourself, it’s safer to leave it to the pros than risk worsening the damage.
Preventing Future Scuffs on Your RV
While it’s impossible to avoid every scratch, you can take preventative steps:
- Wash regularly. Dirt and debris are abrasive, making scuffs worse if left untreated.
- Wax your RV. Adds a protective layer that guards against bugs, debris, and oxidation.
- Consider ceramic coating. A more permanent shield that bonds to the paint, giving you lasting protection.
Protect Your RV Beyond Scuff and Paint Scratch Repairs
Keeping your RV looking good on the outside is important—but protecting it financially matters even more. Paint repairs, bodywork, and accidents can get expensive fast, and that’s where insurance comes in.
At Happy Camper, we help RVers find coverage that fits their lifestyle, from weekend road-trippers to full-time travelers. Whether you’re dealing with a scuff and paint scratch or a bigger repair, having the right policy in place gives you peace of mind. Get in touch with the Happy Camper team today to explore policies and find the RV insurance that protects both your rig and your adventures.