Every RVer has learned this the hard way: skipping a single winterization step can turn a perfectly good rig into a costly springtime repair project. Understanding how to winterize an RV isn’t just about surviving cold temperatures — it’s about protecting your investment, avoiding freeze-related damage, and ensuring that when warmer weather returns, you’re ready to hit the road without surprises. With the right winterization checklist, you can safeguard your RV all season long and step confidently into spring travels.
Below is a clear, comprehensive guide to help you winterize properly — whether you’re storing your RV for months or planning light winter travel.
1. Drain All Water Systems Completely
Freezing water is enemy number one during winter.
To protect your plumbing:
- Drain the fresh water tank
- Drain and flush the black and gray tanks
- Open all low-point drains
- Disconnect and drain the water heater (never add antifreeze to it)
Just a small amount of left-behind water can expand enough to crack fittings, burst lines, or ruin a water heater tank. Proper draining is the foundation of winterization.
2. Add RV Antifreeze to the Plumbing
Once the lines are clear, run RV-safe (non-toxic) antifreeze through the system.
This includes:
- Kitchen sink
- Bathroom sink
- Shower
- Toilet
- Outdoor shower
Run each fixture until pink antifreeze appears. This ensures every line, elbow, and valve is protected from freeze damage.
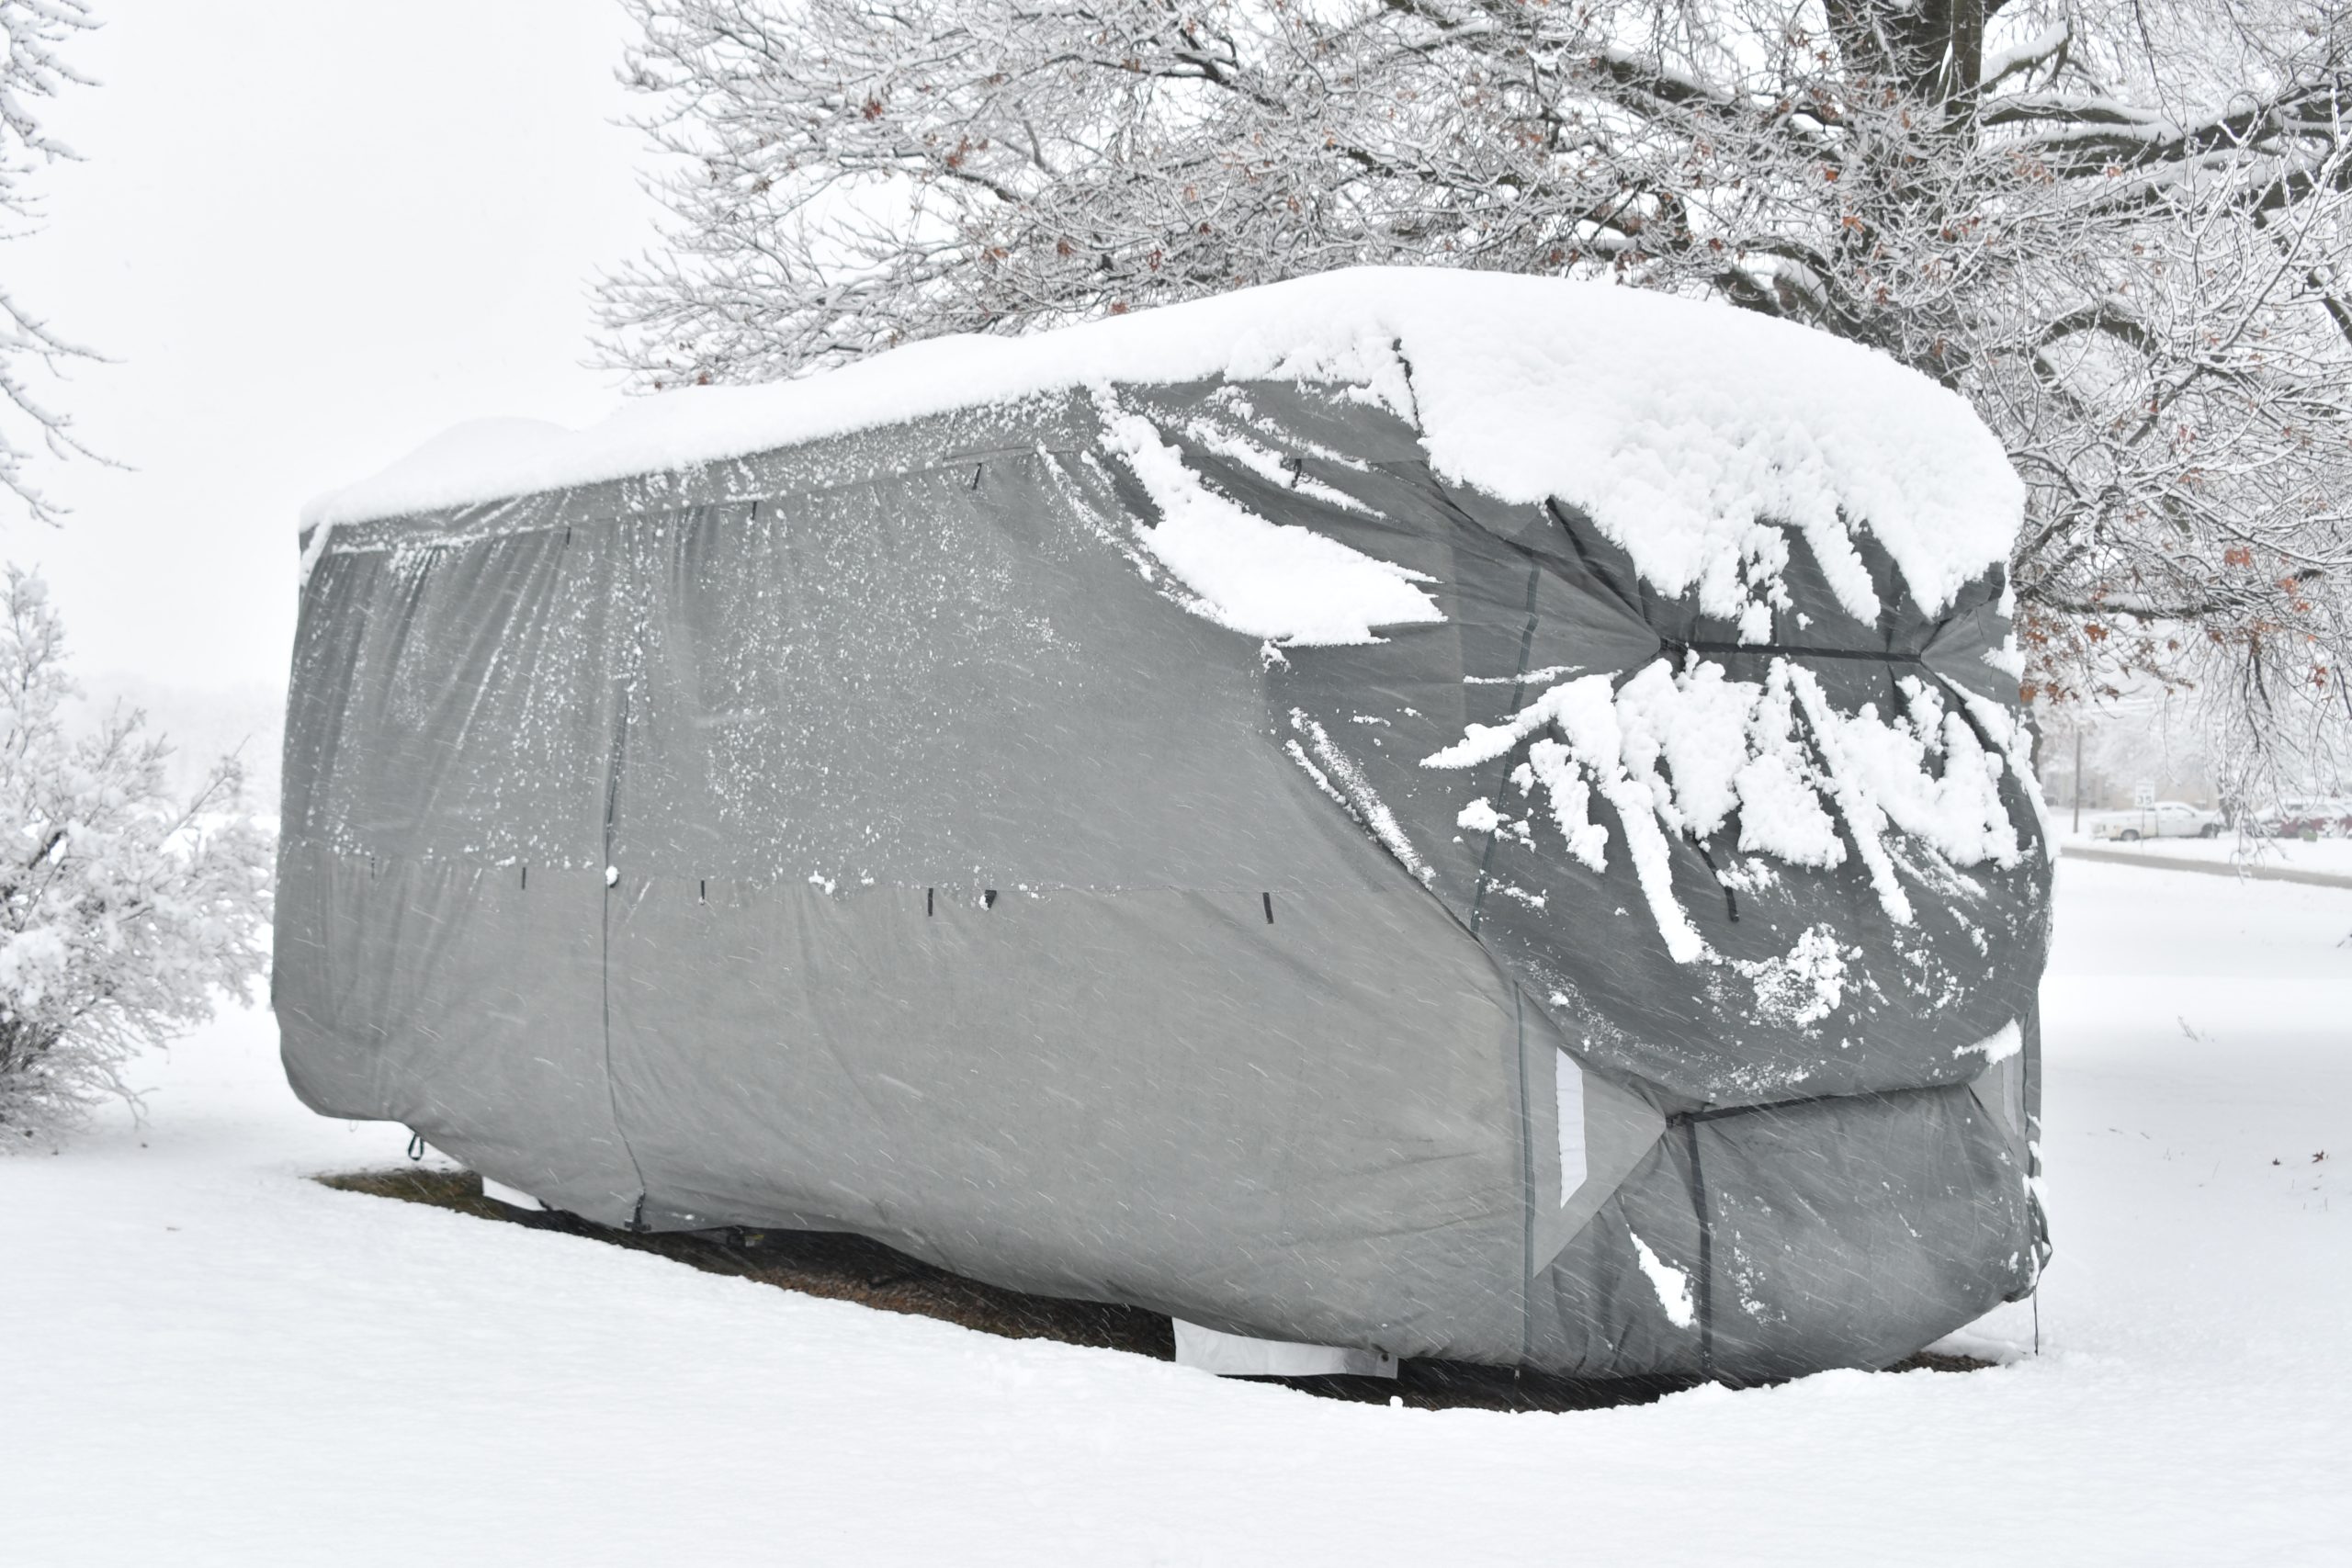
3. Seal Drafts and Protect Exterior Components
Cold air sneaks in through the smallest gaps. Before winter hits:
- Check all seals around windows and doors
- Re-caulk cracks in roof seams and vents
- Lubricate slide-out mechanisms
- Cover the AC unit
- Use a breathable RV cover to protect the exterior
Good sealing now prevents moisture, drafts, and spring leaks later.
4. Care for Your Batteries Properly
Batteries lose power quickly in freezing temperatures. To protect them:
- Fully charge all batteries before storing
- Disconnect them if the RV is in storage
- Store them in a climate-controlled place when possible
- Check water levels (for lead-acid batteries)
Proper battery care prevents early replacement and ensures your RV powers right back up in spring.
5. Protect the Tires
Cold weather can cause tires to crack, deflate, or flat-spot.
Before winter:
- Inflate tires to the recommended PSI
- Park on leveling blocks or boards (not bare pavement)
- Add tire covers to protect from UV rays
- Move the RV slightly through the winter when possible to prevent flat-spotting
Well-maintained tires save money and reduce risk when spring travel begins.
6. Prep Your Interior for Storage
Winter is tough on interiors too.
Make sure you:
- Deep clean the RV to prevent odors
- Remove all food to avoid pests
- Leave cabinet doors open to promote airflow
- Use moisture absorbers to prevent mold
- Close blinds to protect fabrics from UV exposure
A clean, dry interior means a fresh start come spring.
- Don’t Forget Your Engine and Generator
Motorhomes need extra attention:
- Change the oil and filters
- Top off coolant
- Fill the fuel tank and add stabilizer
- Run the generator with stabilizer-treated fuel
This prevents corrosion and ensures your engine stays ready for the road.
Final Thoughts: How to Winterize an RV for Stress-Free Spring Travel
Knowing how to winterize an RV is one of the smartest ways to protect your rig, avoid expensive repairs, and make sure you’re ready to roll when spring returns. Winter prep isn’t just a chore — it’s a long-term investment in safe, smooth travels.
If you want extra peace of mind throughout winter and beyond, Happy Camper Insurance is here to help. Visit our website, explore your coverage options, and get in touch to protect your RV adventures all year long.